






EDITED-1-29-16- I added another link, for the bag, I made to match this wallet. -----I finally learned to say NO and then I found this pattern, at the link below.<br /><br />
<br /><br />
One of my SIL's asked me to make his mom a wallet, to match the purse I made her. I said No, (shame on me) because I made mine without a pattern and didn't write down the measurements, I didn't want to make another..... until I came across this link.<br /><br />
<br /><br />
So this one is for his mom to match her purse. (Remember the handbags/purses I made with strips like this in Projects about a year ago?) Anyway, I posted the first one I made off this pattern a few days ago, in Projects, because I emb my 'Toogie" tag on my items and wanted you to see how nice it is to include your 'brand', so to speak. I didn't post the sewing link there, but have added it today ,for those of you asking.<br /><br />
<br /><br />
I wish Sewing had the brown 'Tags' like Projects to bring up a project. Maybe in future.......<br /><br />
<br /><br />
The link here doesn't include the checkbook, but that's easy enough to make. Hope you like this one-Toogie<br /><br />
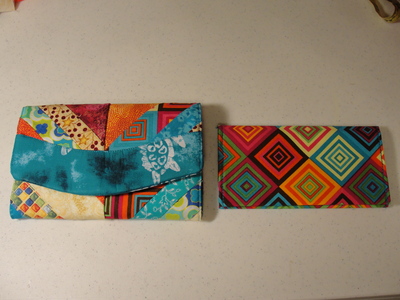
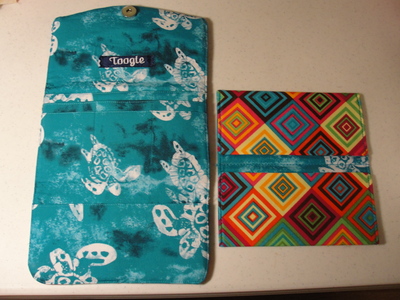
1-wallet front & checkbook<br /><br />
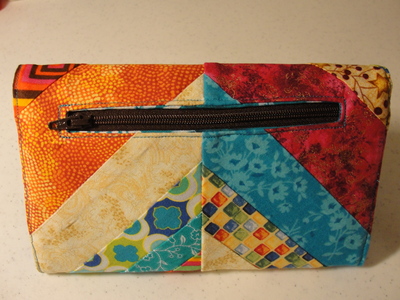
2-wallet back<br /><br />
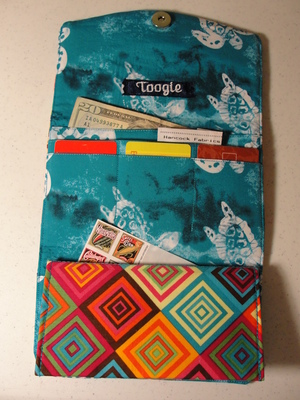
3-wallet filled (oh, I also added another long slot/pocket-see where the currency is- and instead of stitching down for the 6 credit card pockets, I also left that long, for my Hancock Fabric receipts-lol.) The 3 card pockets are holding 13 cards in photo and may hold more.<br /><br />
Where I have my checkbook, is where in the link, put their currency. I just made it how it works for me.
Directions for making a checkbook, as this link doesn't include one.
I cut the checkbook fabrics 7 1/2 inch x 14 1/2 inch. Cut two fabrics and 1 Pellon-Iron Pellon 809 on ONE wrong side. Lay fabric right side together & sew all four sides EXCEPT leave a small opening, for turning, on one end.- Decide which side will be your outer fabric, if you made it, with two different fabrics. Fold your short ends with your inside fabric RST, making the ends almost meet. (You want to leave about a 5/8 to 3/4 inch gap in between, to insert your checkbook and ledger.) Now topstitch along the long sides only. Finished!


I love you colors. They are really pretty.
Kathy
Love Lorraine
South Australia

hugs
Michelle
Happy Stitching!!
