





12254✽
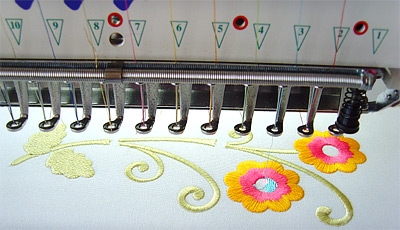
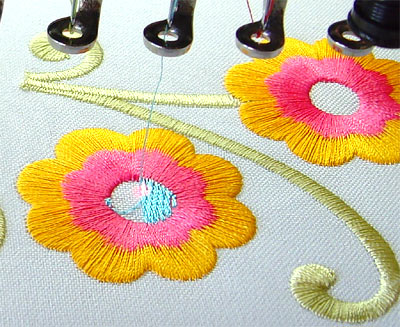
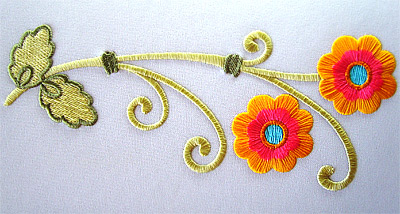
Begin by selecting design that have been specially created for the fringe technique.
When embroidering a fringe design, use cutaway stabilizer.
Comments (15)
12254✽
1. Fringe designs have rows and rows of satin columns - those are the stitches to work with to make the fringe. Cutaway stabilizer will ensure that the satin stitches and anchor stitches are held firmly in place. If you use tear-away stabilizer, those stitches can shift around, and you might have trouble making the fringe.
5 comments

thank you for this tip
Thanks! Great tutorial! Hugs and *'s

Thank you!
This is the best I have ever read. Where could I find this design it is beautiful . Thanks

TTT
12254✽
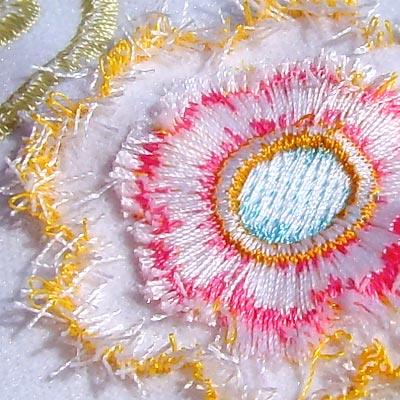
2. We'll demonstrate how to make looped fringe.
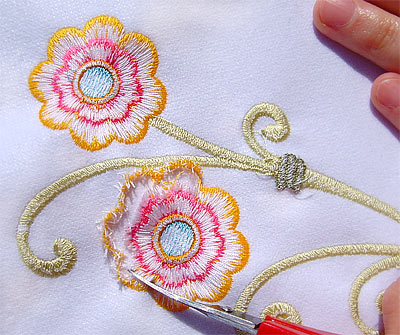
After the design has finished embroidering, turn the embroider to the backside. You'll see those rows of satin columns.
At one end of a satin row, cut the last bobbin stitch.
At the other end of the satin row, cut the last bobbin stitch.
After the design has finished embroidering, turn the embroider to the backside. You'll see those rows of satin columns.
At one end of a satin row, cut the last bobbin stitch.
At the other end of the satin row, cut the last bobbin stitch.

4 comments

Thank you Veronika!

Your demonstration and large photographs make this seem easy to do. Thank you.
Thank you!!! It's beautiful
TTT
12254✽
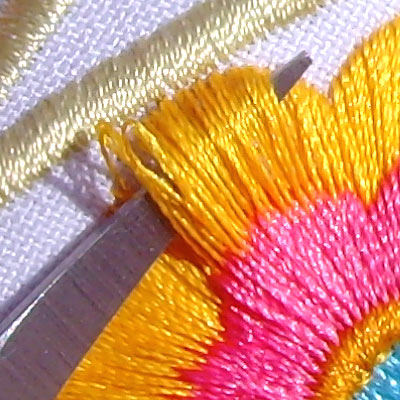
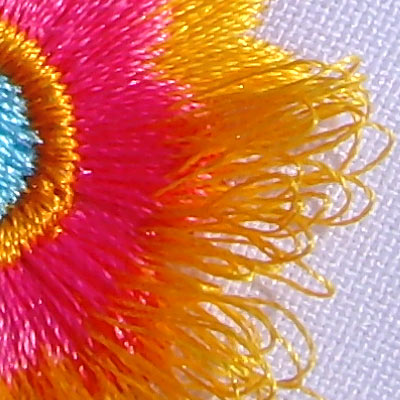
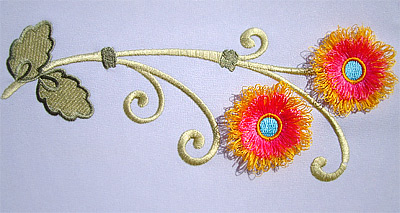
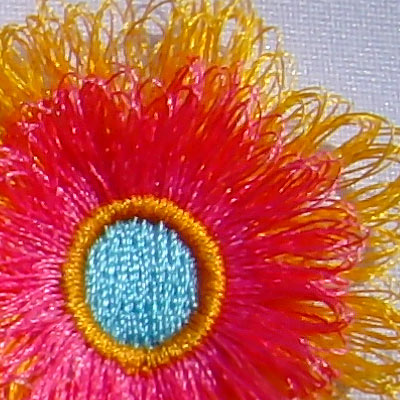
3. Then, pinch the bobbin stitch from the middle of the row in tweezers or a small scissors, and pull it straight up from the satin column. Remove the bobbin thread completely from the column.
Repeat this for all of the fringed areas.
Repeat this for all of the fringed areas.

13 comments
what is this beautifull,thank you for all the tips veronika
Stunning.

MANY THANKS VERONIKA *
Learned again somthing today, Thanks Miss Veronika

thanks a lot for the explanation and for the beautiful design

WOW! Thank you Miss Veronika, this is stunning!!
Thanks for the great instructions. I have done some of the brush out emb. and have put a cute cheerleader with fringed pompoms on shirts for grand daughters. Thanks again.
Beautiful !!! Thank you.
WOW thanks so much
Hugs Karma x
Hugs Karma x
Learned something new. Thank you for the instructions Veronica.
Thank you they are beautiful
TTT
ttt
12254✽
New free fringe embroidery design.
1 links:
[1]
http://designs.cuteembroidery.com/2523659/Flowers.html
designs.cuteembroidery.com
3 comments

Aha, I knew it!!! Thank you sooooo much, Veronika!!! Love, Marji

I'm still not getting anything by the design to download. I must be dense. Guess i can copy and paste the information here.
Thank you so much!

33641✽
9760✽

158720✽

148939✽

70773✽
Back to the top. Thanks, Ms. V for such a wonderful tutorial and all your wonderful designs!

57675✽
Back to the top again. Scroll for the fringe tutorial with pictures.

743368✽

96374✽
by
dailylaundry
24 Jul 2018
+4✽
It is a really good tutorial! Love your talent and appreciate your generosity! Hugs! Laura

122866✽
Thanks so much for the lovely design Miss Veronika. I'll look forward to stitching this one out with great excitement.
Huge hugs and roses, M
Huge hugs and roses, M
57675✽
Sending this back to the top so Cuties will know how to do the fringe designs. The instructions include pictures. Thank you Miss Veronika!
122✽
by
materialgirl
10 Aug 2020
0✽
Where are the instructions? Followed the link.
This is what I found: When embroidering a fringe design, use cutaway stabilizer.
This is what I DID NOT find: The instructions include pictures.
Thanks,
This is what I found: When embroidering a fringe design, use cutaway stabilizer.
This is what I DID NOT find: The instructions include pictures.
Thanks,
1 comment
You need to scroll down. They are in the Comments.