

2430✽
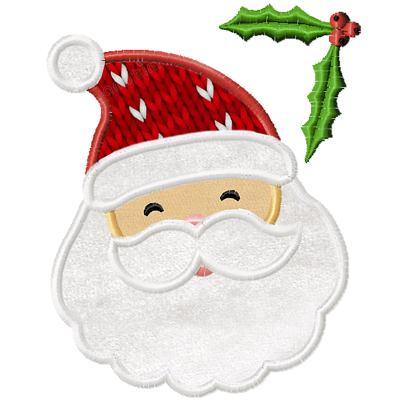
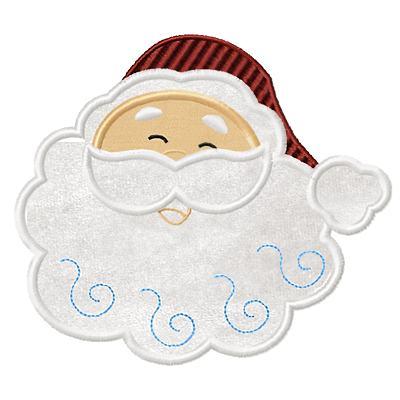
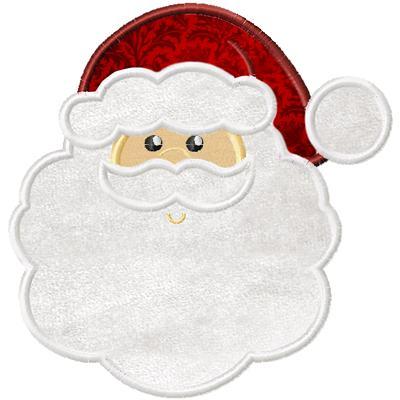
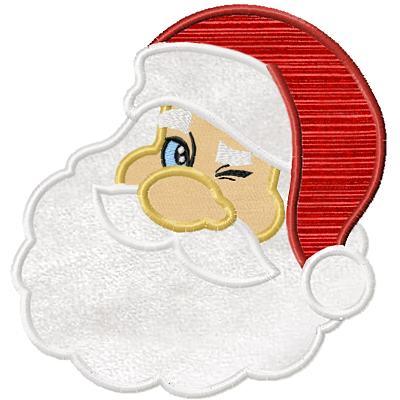
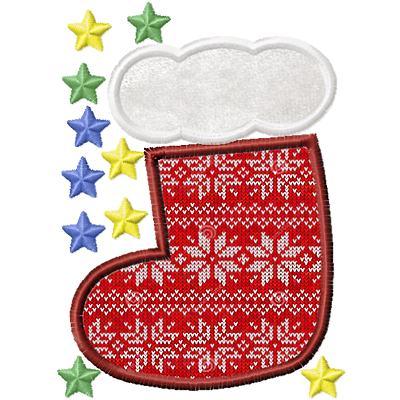
Sorry I am asking here, everytime I click the contact button on her site my computer locks up. Could someone who has this design please tell me if the white part of the design is also Applique or is it filled? Thank you for your help
Comments (6)

463492✽

849✽
My son loves grinch so I bought this design to me it looks like all of it is applique. The only thing that has a fill to it is the ball on the end of his cap. The PDF I have with it says:
Note: To reduce thread changes, refer to the notes throughout the instructions. The reason for
most of the color changes in this design is to make your machine stop so that you can cut around
the appliqués.
Note: For colors 1-3, use thread that matches fabric you're using for the trim at neck
1.This is a running stitch that will show where the trim will sew.
2.Before sewing color 2, iron Steam A Seam or spray temporary adhesive on backside of the
fabric you’re using for this area. Place this over the stitches made in step 1.
Sew out 2. Remove the hoop from your machine. DO NOT unhoop the fabric. Carefully, cut
around the stitches. Place the hoop back on machine.
3.Satin stitch outline of trim
Note: For colors 4-6, use thread that matches the fabric you're using for the face
4.This is a running stitch that will show where the face will sew.
5. Before sewing color 5, iron Steam A Seam or spray temporary adhesive on backside of the
fabric you’re using for this area. Place this over the stitches made in step 4.
Sew out 5. Remove the hoop from your machine. DO NOT unhoop the fabric. Carefully, cut
around the stitches. Place the hoop back on machine.
6. Satin stitch outline of face and face details
7.Trim at neck and design hanging from end of hat
Note: For colors 8-10, use thread that matches the fabric you're using for the hat
8.This is a running stitch that will show where the hat will sew.
9. Before sewing color 9, iron Steam A Seam or spray temporary adhesive on backside of the
fabric you’re using for this area. Place this over the stitches made in step 8.
Sew out 8. Remove the hoop from your machine. DO NOT unhoop the fabric. Carefully, cut
around the stitches. Place the hoop back on machine.
10. Satin stitch outline of hat
Note: For colors 11-13, use thread that matches the fabric you're using for the hat trim
11.This is a running stitch that will show where the trim will sew.
12. Before sewing color 12, iron Steam A Seam or spray temporary adhesive on backside of the
fabric you’re using for this area. Place this over the stitches made in step 11.
Sew out 12. Remove the hoop from your machine. DO NOT unhoop the fabric. Carefully, cut
around the stitches. Place the hoop back on machine.
13. Satin stitch outline of hat trim.
Note: To reduce thread changes, refer to the notes throughout the instructions. The reason for
most of the color changes in this design is to make your machine stop so that you can cut around
the appliqués.
Note: For colors 1-3, use thread that matches fabric you're using for the trim at neck
1.This is a running stitch that will show where the trim will sew.
2.Before sewing color 2, iron Steam A Seam or spray temporary adhesive on backside of the
fabric you’re using for this area. Place this over the stitches made in step 1.
Sew out 2. Remove the hoop from your machine. DO NOT unhoop the fabric. Carefully, cut
around the stitches. Place the hoop back on machine.
3.Satin stitch outline of trim
Note: For colors 4-6, use thread that matches the fabric you're using for the face
4.This is a running stitch that will show where the face will sew.
5. Before sewing color 5, iron Steam A Seam or spray temporary adhesive on backside of the
fabric you’re using for this area. Place this over the stitches made in step 4.
Sew out 5. Remove the hoop from your machine. DO NOT unhoop the fabric. Carefully, cut
around the stitches. Place the hoop back on machine.
6. Satin stitch outline of face and face details
7.Trim at neck and design hanging from end of hat
Note: For colors 8-10, use thread that matches the fabric you're using for the hat
8.This is a running stitch that will show where the hat will sew.
9. Before sewing color 9, iron Steam A Seam or spray temporary adhesive on backside of the
fabric you’re using for this area. Place this over the stitches made in step 8.
Sew out 8. Remove the hoop from your machine. DO NOT unhoop the fabric. Carefully, cut
around the stitches. Place the hoop back on machine.
10. Satin stitch outline of hat
Note: For colors 11-13, use thread that matches the fabric you're using for the hat trim
11.This is a running stitch that will show where the trim will sew.
12. Before sewing color 12, iron Steam A Seam or spray temporary adhesive on backside of the
fabric you’re using for this area. Place this over the stitches made in step 11.
Sew out 12. Remove the hoop from your machine. DO NOT unhoop the fabric. Carefully, cut
around the stitches. Place the hoop back on machine.
13. Satin stitch outline of hat trim.
1 comment
Thank you so much! It really helps to see & read the instructions before I buy it. I appreciate your time doing this for me.

211088✽
by
shirlener88
25 Nov 2009
+2✽
I have both a design that is filled and one that is applique. I can't help. Have you tried to contact Reen on her site?

145792✽

2765✽
Do you have the link for this design. I could not find it on her site
849✽
here is the link
http://www.embroiderygarden.com/store/index.php
Click on applique design singles
then on christmas
http://www.embroiderygarden.com/store/index.php
Click on applique design singles
then on christmas