







I hope these directions are easy enough to follow. I have never written out directions for something before & Hope these are clear enough for you.
Diane
DIRECTIONS FOR GARDENING BAG:
One large pair of jeans works most of the time.
Cut the following pieces:
2 pieces 12"x10" front and back
2 pieces 10"x8" for sides
1 piece 12"x8" for bottom
2 pieces 16"x7" for front and back pockets
2 pieces 3"x18" for handles
1 piece 40"x2" for trim around top of bag
2 pieces 16"x2" trim for front and back pockets
1 piece of cross stitch plastic cut to about 11 ½ “X7 ½ “ for inside bottom
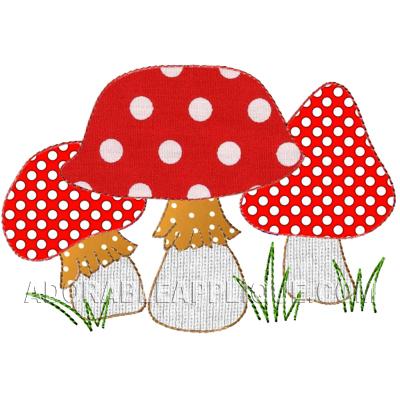
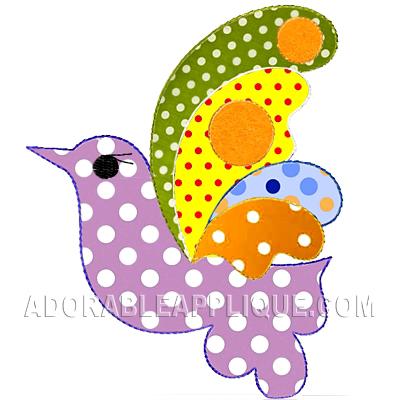
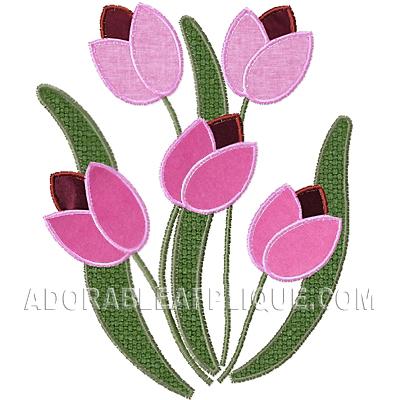
First lay your pockets out on the front of back piece and iron in your creases for the pockets. This gives you and approximate size for the embroidery design area. Next embroider your designs on the pockets.
To embroider the pockets from the back of the jeans (if you use that for the sides) you will need to take the pocket off, embroider it than reattach it to the side panels.
Okay now that you have the embroidering done, it times to put the bag together.
First attach the 2 front and back pockets, one to the front piece, one to the back piece along the 12” length of the 12”X10” pieces.
Next Sew the 12” length of the front pocket the 12” length of the bottom, repeat for the back side.
Now sew one of the sides to the 8” edge of the bottom and up the sides on either side. Do the same with the other side piece.
Sew your handles wrong sides together and turn right side out, now attach them so they hang into the bag with the seam against the inside of the bag. That way the seam will not be facing out when you are done.
Fold your 40” trim in half and stitch one side down to the bag than fold it over the edge and stitch it down again so you have a trimmed edge, Now fold the handles so the are up and Do a “X” stitch to secure them in and make them stronger.
Place plastic cross stitch piece inside bottom of bag to make it sturdier.
You are now done.





THANKS so MUCH!


Hugs,
Jacqueline