


86901✽
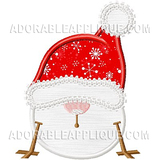
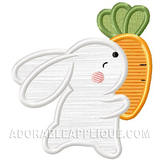
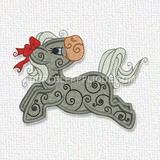
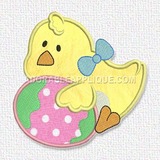
I have been trying to make myself and suceeded getting my designs to cd so I don't lose if computer has a hissy fit or something. Then thought of Sues CD cover. Hince I put fabric with felt behind added designs on front ribbon tab then made another for back and have a soft cover will put where safe. Next goal keep better track of who did what.
2 images:
[1]

[2]

Comments (14)

211088✽

360672✽
Way to go it looks lovely and i like that you put the word designs on it so you can tell at a glance what she is hugs:):)and Keep up the good work ok :):)
1 comment
Thank you, ☺ with a hug

25531✽
NICE !!!! Great job !
1 comment
Your nice!!!! Thanks!

89895✽
You have a good start at saving your designs and who's design it is. Your cover idea is clever.
1 comment
Thank you!!!

37638✽
Thats really cute and not to bulky I was thinking of making some CD holders from DEsigns by sick bought thought it would be to bulky-but I see not anymore than a jewel case.
I'm on my 3rd week of organizing my files and just about done. I have different hobbies and a lot of files. They would never fit on one cd. So maybe a nice hatbox decorated to store all these preety round cd covers. Thanx for showing
I'm on my 3rd week of organizing my files and just about done. I have different hobbies and a lot of files. They would never fit on one cd. So maybe a nice hatbox decorated to store all these preety round cd covers. Thanx for showing
2 comments
wow linda that is a great idea!
Thanks I also have many files I am into many hobbies as well. If it has string it's my thing, Wood, painting, paper, photos, drawing, Weaving, crochet, If it is a craft I will get into it. Thanks for the hatbox idea. Will be fun to decorate that also.

18960✽

52686✽

7314✽
That is a really good idea,
1 comment
Thanks you

48168✽
I am sure this is a great idea but I can't picture how you put the cd in and out as you want to.My visual isn't working this morning.
3 comments
me too but maybe the back is like when you do a pillow for the couch & you have 2 pcs on the back that overlapp?
Without too much typing, Step #1 make with fab print top felt bottom of was choice you got the lines and in there if you put words or design then the finish satin. Before satin finish I put ribbon at top. CD part one done.
Step 2 Make another then Step 3 sew together with zig zag about 1/2 up circles or little more think of space placing for the cd. Your done!
Step 2 Make another then Step 3 sew together with zig zag about 1/2 up circles or little more think of space placing for the cd. Your done!
Rest did not show so I hope this is right but Step 3 Sew about half up finished circles with zig zag.... Your Done!

72397✽

51302✽
by
designgirl
12 May 2012
+3✽
What a great idea. Thanks for sharing.
1 comment
Thank you with flowered hugs to all

299703✽
cool
2 comments
Ifyou can put designs on the front then that means you could put what kind they are too! Much nicer than the pc of paper that you get with a cd
That was also in my thought but I wrote on the disk, I have backed up on another drive as well.

173695✽
Love it! I think I will do this today!
1 comment
Thank you

119791✽