



 360672✽
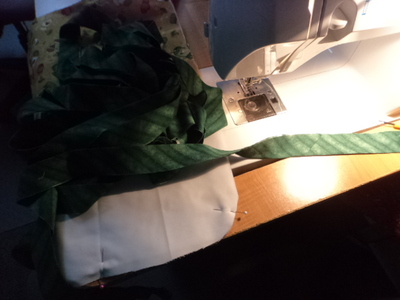
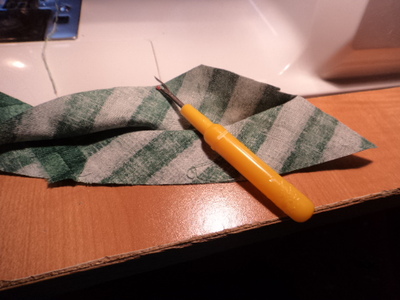
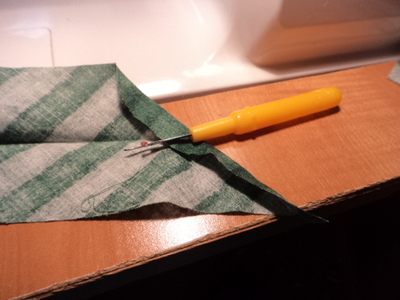
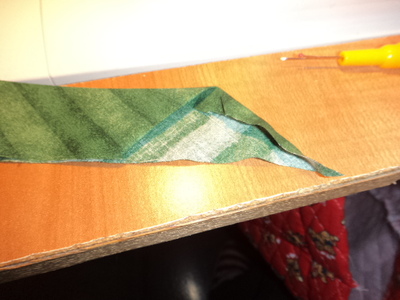
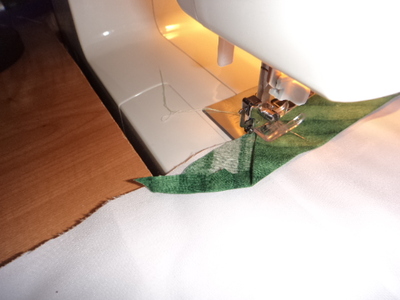
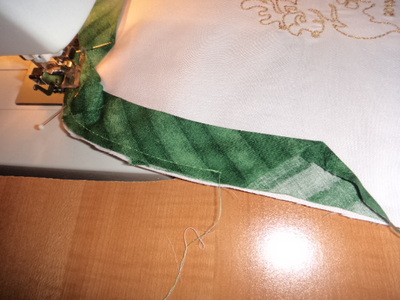
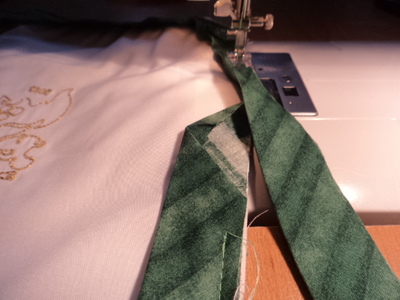
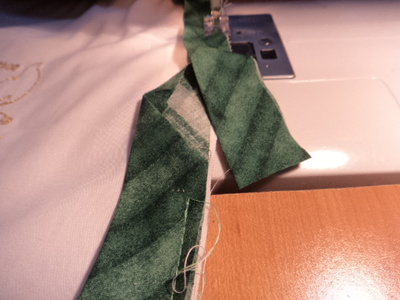
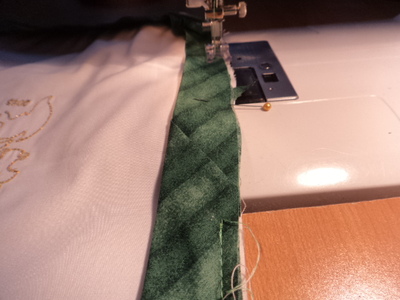
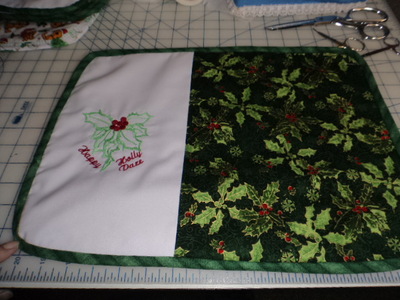
Wanted to show some of you newer sewer how i join my binding!!Hope this helps at least one person.Theres many ways but i like this one best as its very easy!!!I learn from pictures better then the written word so i am trying to show u steps OK hugs Carolyn
10 images:
[1]
[2]
[3]
[4]
[5]
[6]
[7]
[8]
[9]
[10]
Comments (20)
 234614✽
Good morning Carolyn (it's nearly 8.00am Tuesday morning here) what a great way of doing the binding. I like how you just have to tuck the end in. I've always had to cute the exact measurements etc. and have to sew the join. I can see you just slip the loose end in and sew it down with having to sew the two pieces end to end. GREAT IDEA! Love Chris
2 comments
Chris it is 7am in Qld --No day light saying !
Well its still Monday evening her it is nearly 7;30 just took Mr.Peeko for his last walk of the day lol hugs
 46645✽
by
sandralochran
14 Oct 2013
+8✽
I must try that way with the ends.Thanks
1 comment
Thanks Sandra hugs
 4622✽
thanks carolyn thats much neater than mine ...linda
1 comment
Your Welcome hugs
 16529✽
by
vickiannette
14 Oct 2013
+6✽
Morning Caroline, yes I do mine like this also. Neat finish. If I am making something for myself (when it doesn't matter so much), then I would probably stitch-in-the-ditch to secure the binding, instead of the correct hand-stitching on the back. I suffer from Carpal Tunnel and sometimes hand-stitching is very difficult.
1 comment
I am sewing 11 by hand right now and its killing my hand to 3 more to sew lol hugs
 52686✽
by
shirley124
14 Oct 2013
+7✽
Very neat. Thanks for the pictures. Helps a lot. I will have to try this way. Hugs Shirley
1 comment
Its sew easy hugs
7649✽
Thanks for sharing. Shirley
1 comment
Your welcome hugs
 299783✽
Nicely done me too. Hugs **Loralye
1 comment
Thanks my friend hugs
 24342✽
Thank you for the lesson very well done easy to follow, I do mine that way too. love your placemat. hugs sally
1 comment
Thanks Sally hugs
318687✽
by
dragonflyer
15 Oct 2013
+7✽
Thanks for the photo tutorial...have never done it this way, but must give it a try...
1 comment
Thanks hugs
 119791✽
thank you wery well done
1 comment
Thanks Maria hugs
 11543✽
Thank you - definitely going to try it.
1 comment
ok hugs
 89895✽
No need for words - - - Your pictures showed the instructions perfectly.
1 comment
thanks hugs
 4666✽
Oh you have just made my life soo.. much easier. Thankyou so much!! Very neat!
1 comment
thanks hugs
5822✽
by
baldacchino
15 Oct 2013
+3✽
Thank you very much, I know there must be an easy way to do it Thanks for the pictures No need for words from S
1 comment
thanks i learn more from pictures hugs
 255070✽
Thank you Carolyn. I am saving this in case I need it. Normally try to avoid binding. :)
1 comment
way to go hugs
78119✽
Thank you for showing us how you do the binding. If you don't mind, I will save it for future use. Love your placemat!
Hugs, Lidia
Hugs, Lidia
1 comment
to do it :):)hugs
2958✽
Thank you, thats much neater than the way I do it.
1 comment
yes its neat for sure hugs
 6331✽
I used to do mine binding that way until I found this way.
http://www.youtube.com/watch?v=3w5npghs4V8&list=FLzT7bGbZ5Dz-t8q_ap_2MDw&index=14
Thanks... L'
http://www.youtube.com/watch?v=3w5npghs4V8&list=FLzT7bGbZ5Dz-t8q_ap_2MDw&index=14
Thanks... L'
5 comments
Great !
Thanks :):)
See what you started? What wonderful things we learn here, all of us together. Thank you both.
thank you so much.
Thank you very much!
 7056✽
Been sewing for near 50 years and always enjoy getting great suggestions that are new and reminders of what I learned and "forgot" .Thanks for this post .
1 comment
lol me to hugs
5165✽
Another wow from me! i have been quilting now for 15 years and never have seen this! thanks sew much. i will try this on the next one. is the fabric cut bias?maybe that is why i have never seen it. i don't do bias unless i really have to. which is not often! lol thanks for showing, lynne
1 comment
yes its cut bias believe me!!!