



360672✽
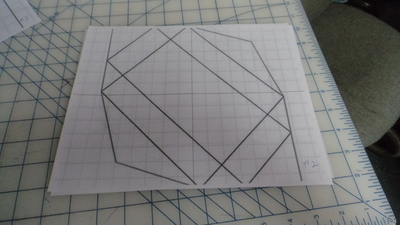
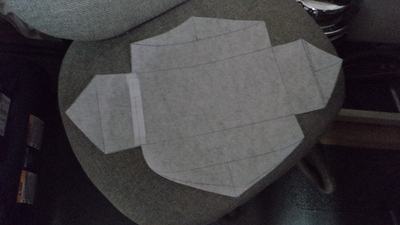
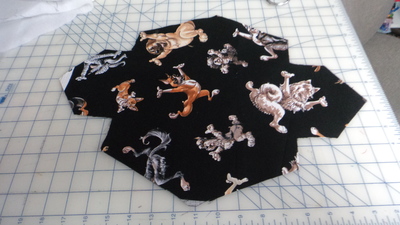
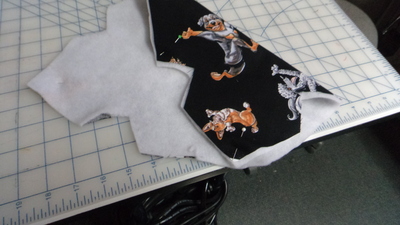
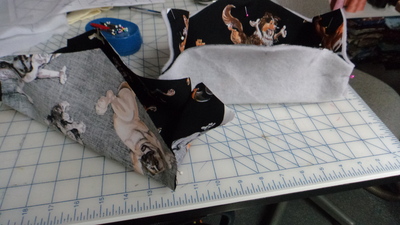
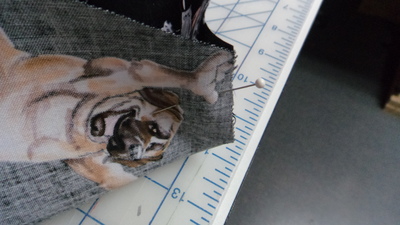
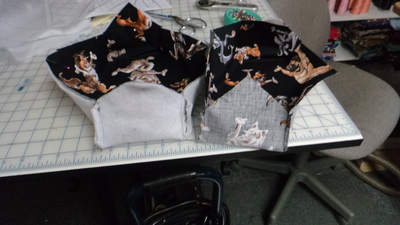
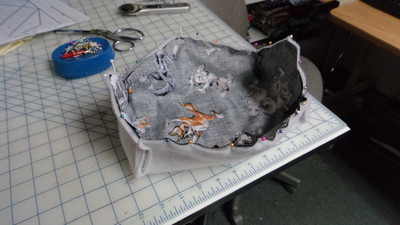
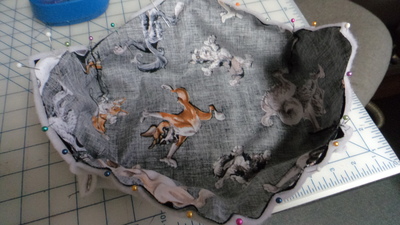
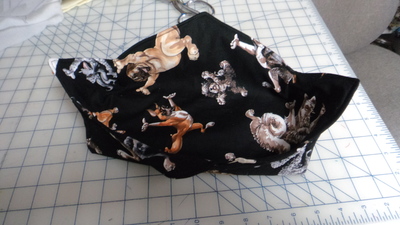
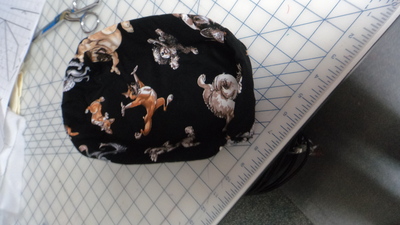
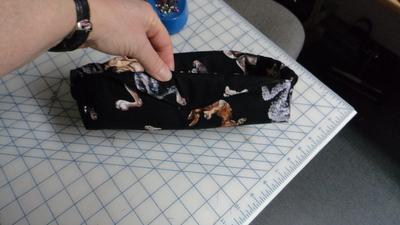
ok heres how to make this oblong box,i do-not know how many pictures this will upload so i may half to do two posts ok .<br /><br /><br /><br />
I learn best by pictures instead of the written word .I do hope i am not all alone .To start the bottom base is 10x5inches sides are 2 inches .I forgot to say that Mops helped me with this design Thanks my friend!!hugs Carolyn
12 images:
[1]
[2]
[3]
[4]
[5]
[6]
[7]
[8]
[9]
[10]
[11]
[12]
Comments (29)

26010✽
Thank you for sharing this.
1 comment
Your Welcome!!

119791✽

261163✽
by
basketkase
18 Feb 2014
+9✽
Wow, great tutorial and love that fabric!!!!!!
1 comment
Thanks Vicki i do hope it helps someone??hugs

173695✽
It will help me. I hope to make one today to hold my stripped fabric. Let you know tomorrow how I make out. Thanks my friend Hugs!
1 comment
Your very welcome i do hope it helps hugs
35301✽
I for one appreciate the photos, they make this easier for me to visualize. Hope to try soon, am re-organizing my sewing area...thank you.
2 comments
ok i gave up on my fabric stash and my friend said she would come and help me one day soon.
Mine is because of elder care giving since 1998, various family members, both sides, various states and lots of travel. No regrets, but my wants and needs were put on hold when this was occurring. Now it's me time, not meant to sound selfish, just life...priorities.

299711✽
excellent instructions!
1 comment
Thanks Lor. hugs

140726✽
Well done Carolyn!
1 comment
Thanks Sue hugs
6963✽
Thank you so very much for these great instructions and pictures. We truly appreciate everything you have done to help make this easier for the rest of us.
1 comment
your very very Welcome I love to help others as at one time i needed lots of help hugs

145307✽
I see you used the pattern I sent you. Nice tutorial!
2 comments
yes thanks:):)
thanks Martine for your brainwork
185✽
Thank you so much. Appreciate you taking pictures to give the instrutions for the box. I so better with pictures.
1 comment
yes me to hugs

70767✽
4719✽
Thank you so much.
I Appreciate you taking pictures
I too understand better with pictures!
I Appreciate you taking pictures
I too understand better with pictures!
1 comment
yes me to hugs
3583✽
Thank you, I too do better with pictures...Keeo up the good work...
1 comment
thanks hugs
66028✽
by
sonjapotgieter
18 Feb 2014
+8✽
Work well done..Looks easy on paper???So hope will succeed
1 comment
yes for sure hugs

158720✽
You did a great job with that pattern. I like photo tutorials also and yours makes perfect sense. I love your fabric, and I love that Martine is always willing to help a Cutie!
1 comment
yes she sure is hugs
18079✽
thank you, xx
1 comment
welcome jean hugs

54619✽

62461✽
3286✽
WOW well done. Thank you
1 comment
thanks hugs

86901✽
by
highlandermom
19 Feb 2014
+4✽
Love your tutorial this is great! I guess I could use your words by saying you make this look "easy peasy".
1 comment
lol well it is right???hugs
12452✽
by
mariagiannina
19 Feb 2014
+4✽
Thank you Carolyn! I too prefer pictures to learn from.
1 comment
Yes me to hugs

25546✽
great tutorial Carolyn, now what do you use these for, I am thinking they may be good for my 2 GD's to put bits and pieces in, OH they have so many .........thanks for sharing...
1 comment
put whatever u want in it:):)
4155✽
Thanks for taking the time to load all the pics - very easy to follow and looks great.
1 comment
Thanks hugs

4757✽
Thanks for the photos and instructions. Love this different shape to the square box. Also love your fabric. Lyn
23293✽
78119✽
How do the say.... a picture is worth a thousand words.... by 12 pictures..... lol Great tutorial, thank you!
Hugs, Lidia
Hugs, Lidia
4384✽
9863✽

20463✽
Thanks a bunch Carolyn for the tut, now I do not have to seach for the new hype item, and such a lovely box you have done