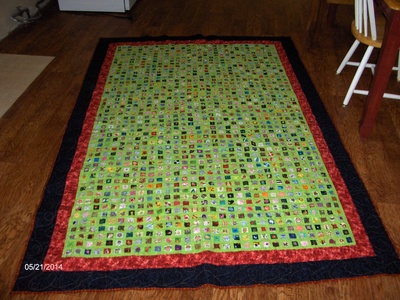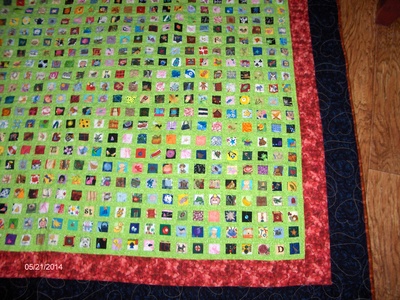







what do you do with those scraps of fabric when they are below 2 inch square?
You make a one inch grid on the computer and print it off onto freezer paper. Or if the pieces are big enough make a 1.5 inch grid and print that of onto the freezer paper. Do at least one of the copies of each size onto normal computer copy paper and put it to one side as you will not be cutting this
. Now you need to cut out those squares of freezer paper and put them onto one side. Get out those small scraps of fabric and set the Craft pressing device ( iron ) onto warm and take up a square of the freezer paper and position it onto a scrap of fabric and iron it on. You can then cut around the freezer paper and it will leave you with a nice square of fabric.
Naturally you repeat this as often as you need to and keep all the small squares in a box for the next part of he fun
Right, you now have a few hundred small squares that need to be sewn together but they are so small, especially the one inch ones so how to do the 1/4 inch seam with accuracy.
Easy. You now need some very lightweight iron on interfacing. place the copy paper grid onto a nice firm surface and then place the lightweight iron on interfacing with the fuse side up on top of the paper grid and pin it in place.
Take one of the small squares of fabric and gently remove the freezer paper as these can be re used several times. lay the fabric onto the interfacing inside one of the squares that you will be able to see through the interfacing and with a small clover type iron bond it to the interfacing.
It is important that you get the squares all lined up neatly for the next part to work.
Right you now have a block of small squares of fabric bonded onto the interfacing and its now time to start to sew them all together. set your machine to a small stitch and a 1/4 inch seam allowance and then fold the interfacing over at the first line of blocks and sew along the fold line from top to bottom with that 1/4 inch seam.
allowance.
Fold over the next line but this time sew from bottom to top of the block. this helps the fabric to stop twisting and to lay flat. continue in this manner doing all the vertical lines. press the seams and then if you can cut along the fold and then press the seams open. OK if you find that bit too difficult then just press and cut of the folded section. Now you turn the block so that you can repeat the sewing along the horizontal lines. You will see that all the little blocks are being sewn together with great precision and look nice and neat.
You can make your finished blocks as big as you want but i like to make them around ten inch square and then sash them all together.
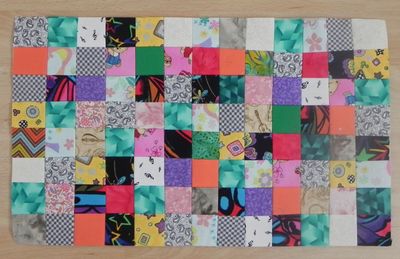
This method of joining the small pieces works well if used in panels for totes or placemats
look for mosaic patterns and copy the design onto the grid with your chosen fabrics.
Now every one will think you have been so clever and you can sit back and enjoy the praise
enjoy.


I'm sure your projects look wonderful. Enjoy making the next one!


can anyone find Elvis............